When making amigurumi’s, it’s super important to pin everything in place before you sew. You want everything to be in the perfect place, and pins help with that! Also for sewing and other crafts, pins are material number one.
What’s better than a handmade, customized pin cushion to decorate your craft room? Nothing much! Not only is it cute, it’s also practical. Get your crochet hook and yarn, and let’s get started.
Materials
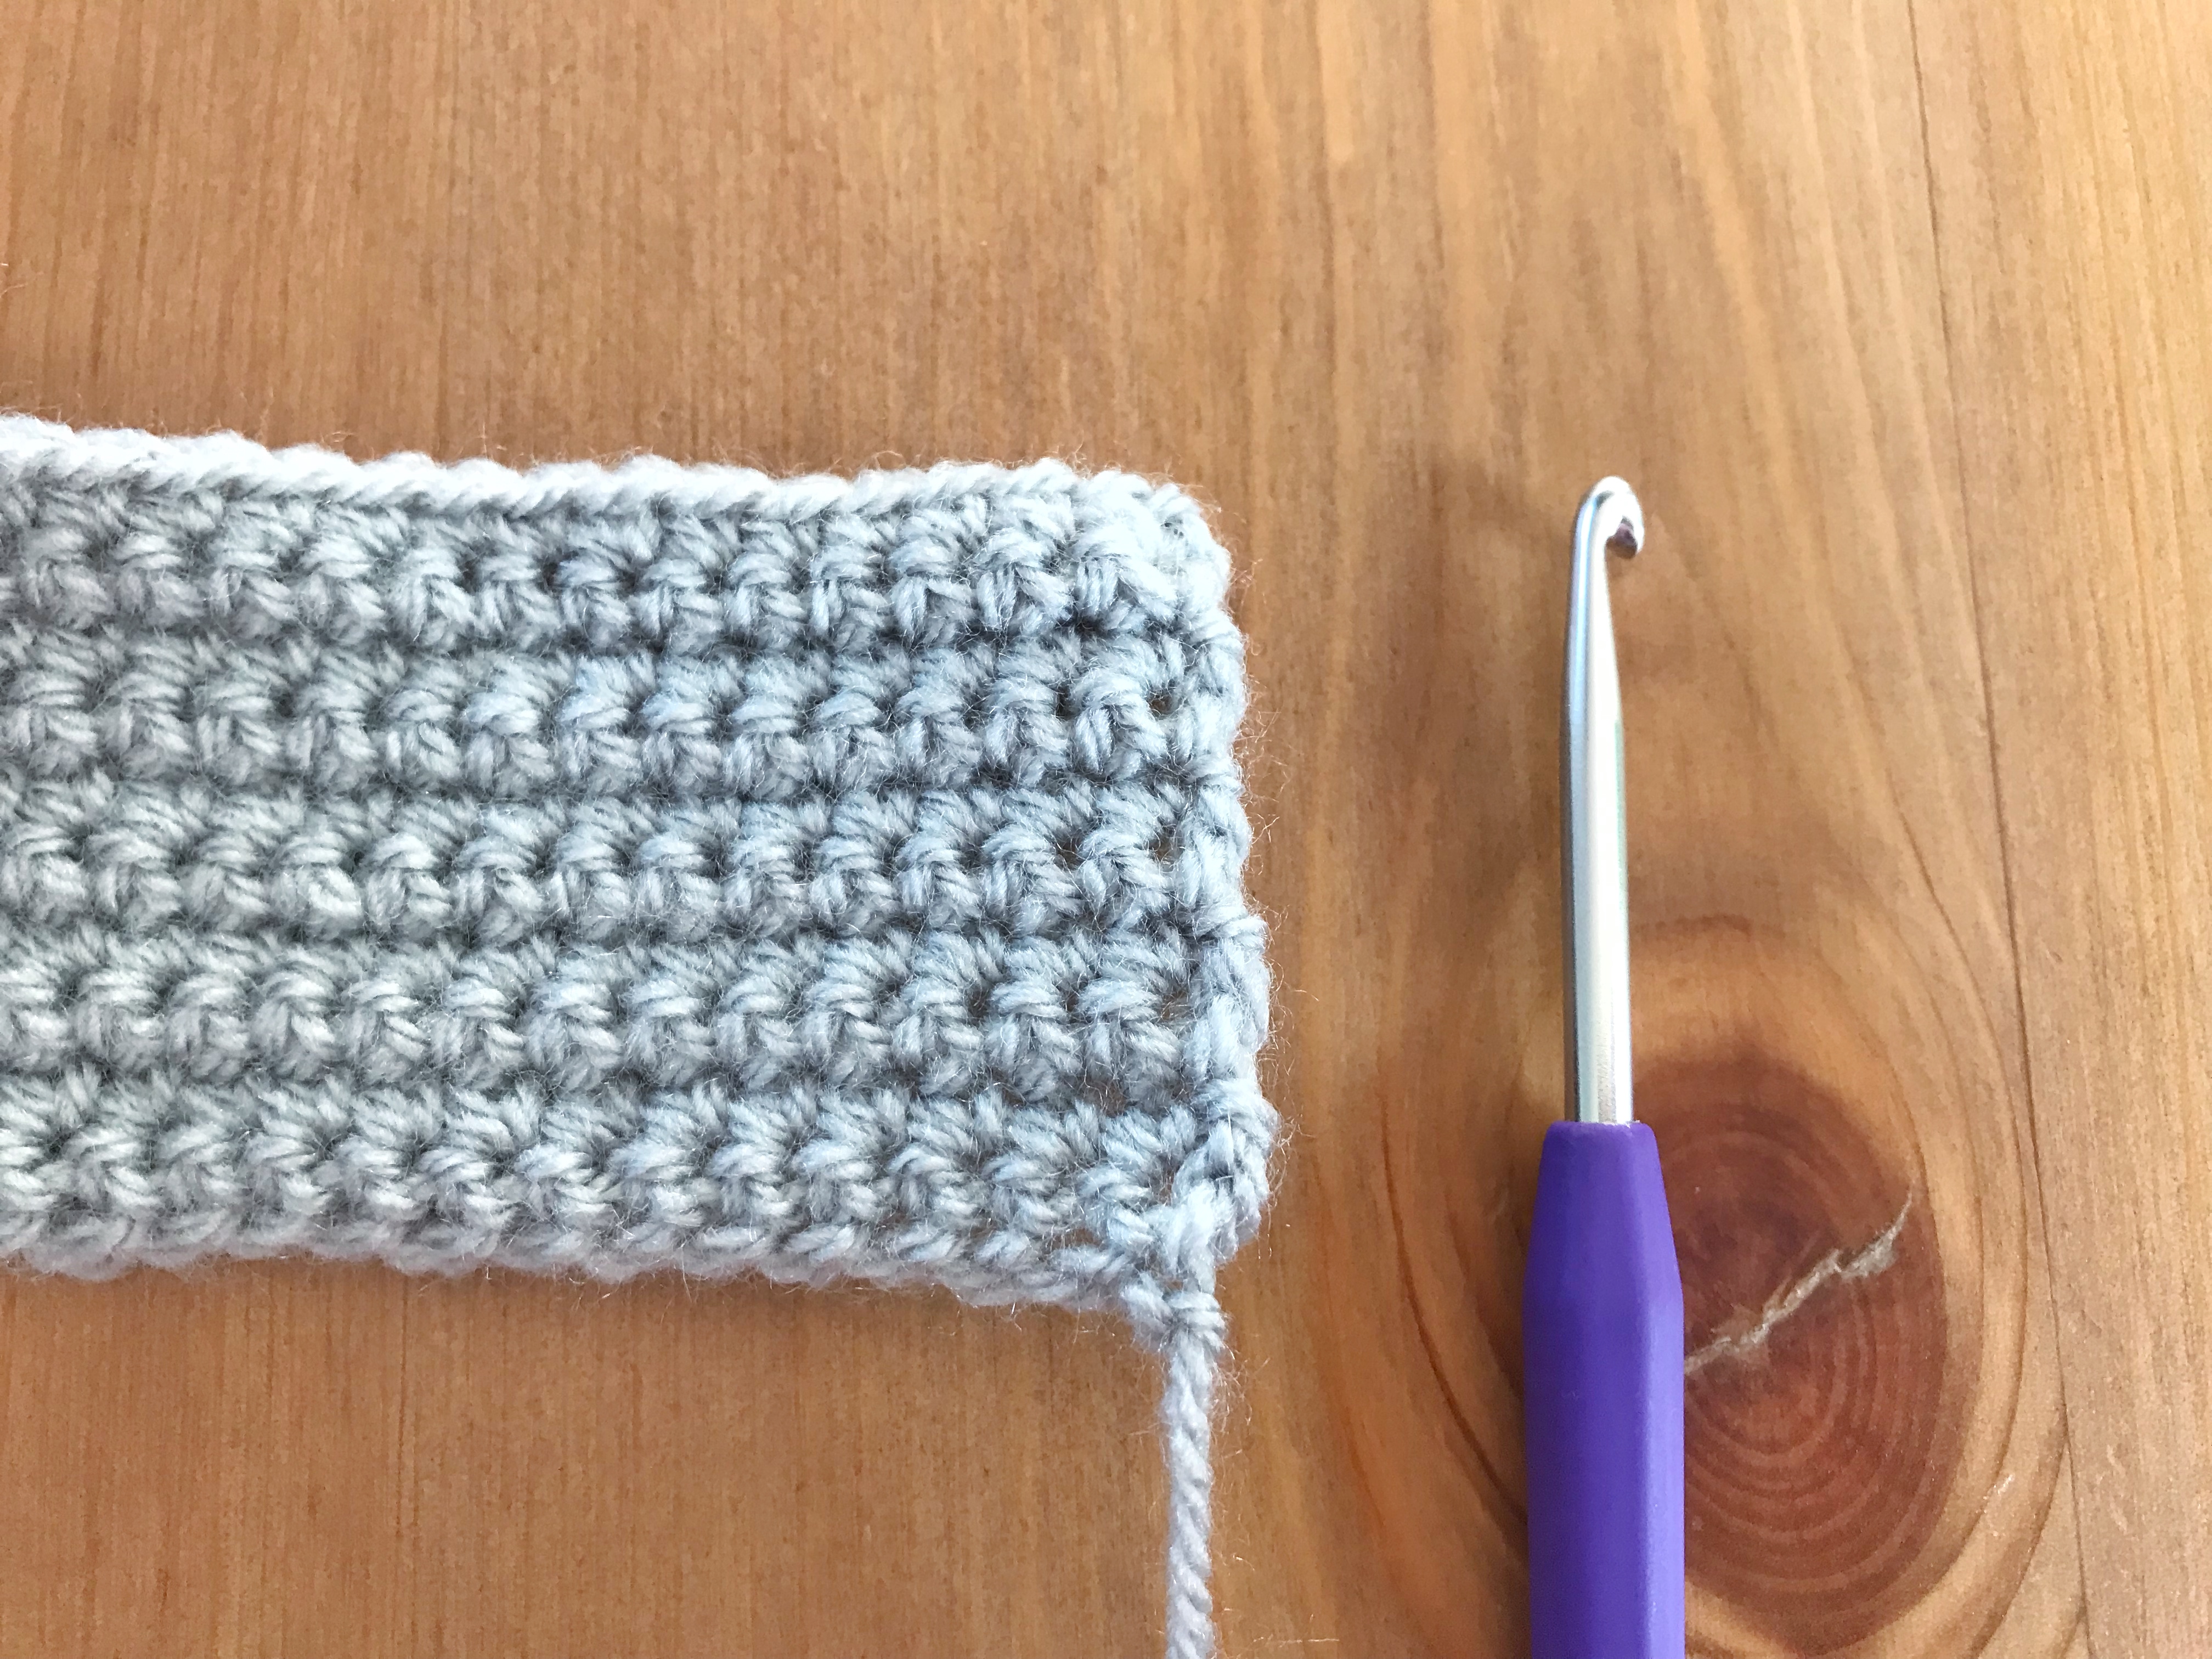
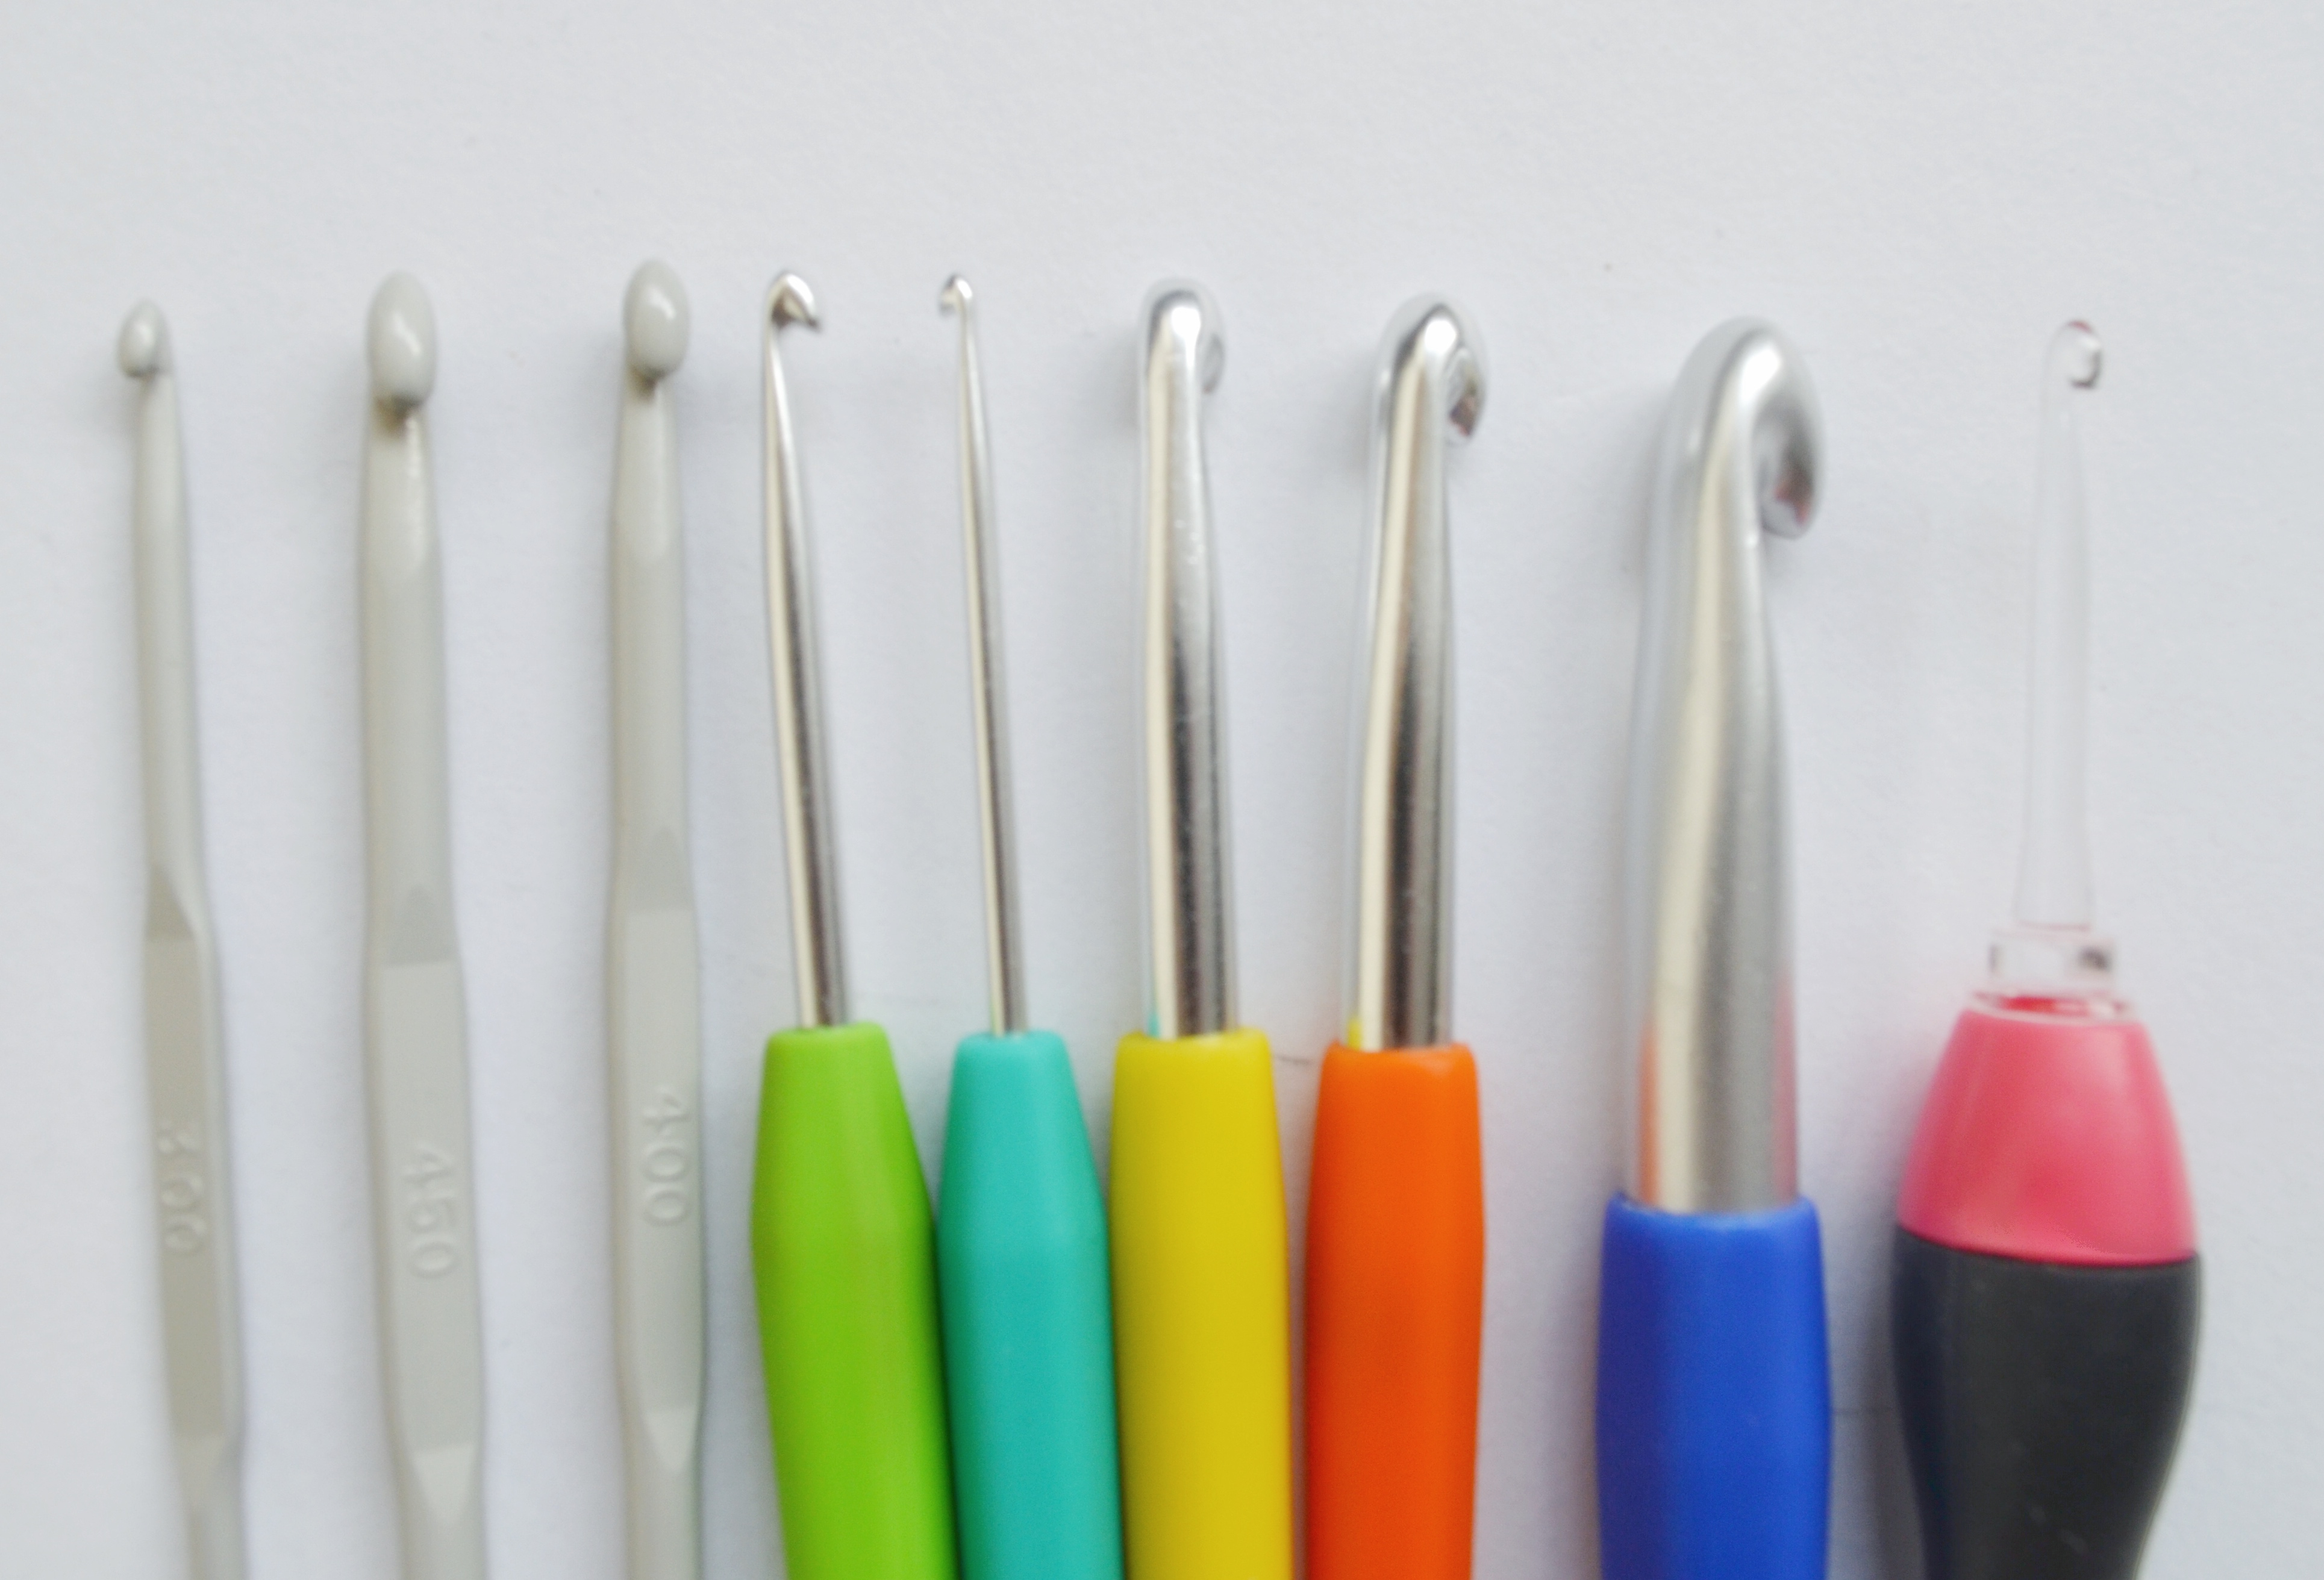
Crochet hook 2.5mm
Beige yarn
Yarn in any color
Poly pellets
Stuffing
Scissor
Yarn needle
Metal rings 3cm, 2x (optional)
Sewing pins
Pattern
Use beige yarn
RND 1: 6 sc in magic ring (6)
RND 2: 2 sc in each (12)
RND 3: 2 sc in each 2nd (18)
RND 4: 2 sc in each 3rd (24)
RND 5: 2 sc in each 4th (30)
RND 6: sc around in back loops only (30)
RND 7: sc around
RND 8: dec over each 4th and 5th in back loops only (24)
If you use metal rings, insert one now. This makes it a little bit heavier so it will stand better, and it will keep the circle nice and round.
RND 9: dec over each 3rd and 4th (18)
RND 10: dec over each 2nd and 3rd (12)
Stuff with poly pallets and stuffing
RND 11: sc around in front loops only (12)
RND 12-13: sc around
OPTIONAL: for a bigger version, do another round (RND 14) of sc around
Lightly stuff
F/O leaving a tail for sewing
Make another, but leave out the poly pallets. This makes one side heavier, making it easier to stand. You don’t have to leave a tail.
Sew the two small endings together, filling the center as you go. Wrap around yarn in the color of your choice. Stick some sewing pins in the top and done!
This is a free pattern. You may not sell this pattern in any way. You are allowed to sell the finished items made with this pattern, but only when you credit Nerd With Yarn as the designer.


